Every time we go on a road
trip, I wish I had something to do my word puzzles on in the car...something
with a flat surface and a pillow underneath for comfort...so I was
thinking...and voila...I had all the pieces I needed to make it already in the
house. I've included some instructions for those that may wish to make one too.
Supplies:
Old pillow for stuffing, or a
bag of loose stuffing
material for pillow (2 pcs. ea
12x16")
old pressboard placemat (11.5
x 15")
2 pieces of scrapbook paper
12x12
length of ribbon
hot glue gun
modge podge and paintbrush
Take the two pieces of fabric and place them together right
sides facing each other. Sew a seam
around the pillow , leaving a gap large enough to stuff. Zig zag the raw
edges or serge if you have one. Turn fabric
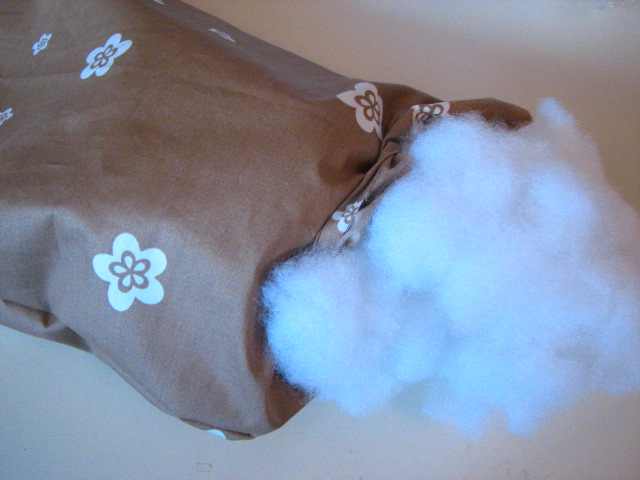
to right side and turn the outside…stuff to desired thickness.
Hand stitch the opening after stuffing is done. Set aside.
Cut scrapbook paper to fit the placemat…I chose 2
co-ordinating papers and rounded the corners as the placemat had rounded
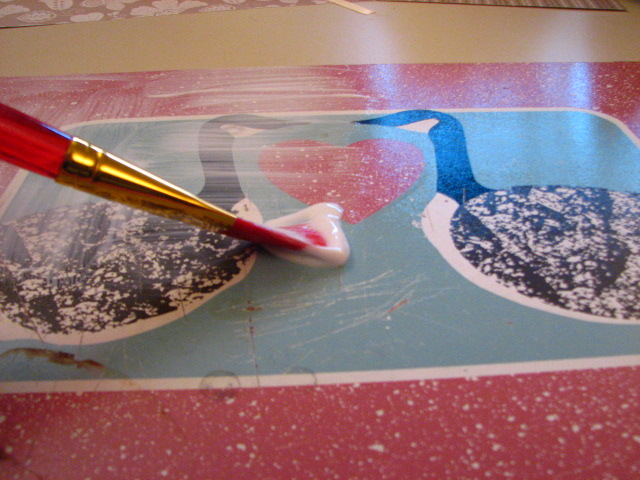
corners. Once paper is cut, grab your modge podge and a large craft paintbrush,
and apply a thin, even coat on the top of the placemat. Carefully place the
papers on top and smooth out any wrinkles. I use an old wallpaper seam roller
to smooth it all out.
I cut a piece of ribbon to go over the seam. Apply a small
amount of modge podge over seam and apply ribbon on top…let dry before
proceeding to next step. ( I have a fake electric fireplace in my craft room
and I just placed the board on the floor in front of the heat and it dries
rather quickly)
Sand the edges with an emery board to smooth out edges and
give a slightly distressed look to the edge.
Once dry, apply a thin, even layer of modge podge on top of
the board, right over the papers. I find long, light, even strokes dry the
cleanest rather than choppy brush marks, I go from the top to the bottom in one
stroke to achieve this look. Also be sure to put a little all around the side
edge to be sure the paper won’t lift at the edges. Let dry completely
Once dry, apply a second coat of modge podge and let dry
again. When dry, heat up your hot glue gun…when good and hot, apply a good
amount of hot glue to the center area of the back of the placemat…you have to work
quickly as the hot glue dries fast…center the pillow on the board and press.
Run a bead of hot glue around the edge where the pillow with
touch at the edges and once done, press the pillow into the glue, and use some
heavy books to completely cover the pillow and leave until all glue is good and
dry…and voila…you have a lap desk you can use in the car, out in the yard in
the lawn chair, or wherever you need a flat surface on the go. Thanks for
looking and happy crafting!!!


 This is a beautiful card I saw on Pinterest that I knew I had to copy...in case you are wondering, as I was...the flowers are made from a regular leaf shape and then curled at the bottom...I scavenged some stems from some old silk flowers and stuck a pearl on the end...I think it would make a beautiful sympathy card. Corners are from Picturesque Cartridge