bacground

Sunday, January 29, 2012

Every time we go on a road trip, I wish I had something to do my word puzzles on in the car...something with a flat surface and a pillow underneath for comfort...so I was thinking...and voila...I had all the pieces I needed to make it already in the house. I've included some instructions for those that may wish to make one too.

Supplies:
Old pillow for stuffing, or a bag of loose stuffing
material for pillow (2 pcs. ea 12x16")
old pressboard placemat (11.5 x 15")
2 pieces of scrapbook paper 12x12
length of ribbon
hot glue gun
modge podge and paintbrush


Take the two pieces of fabric and place them together right sides facing each other. Sew a seam  around the pillow , leaving a gap large enough to stuff. Zig zag the raw edges or serge if you have one.  Turn fabric to right side and turn the outside…stuff to desired thickness.
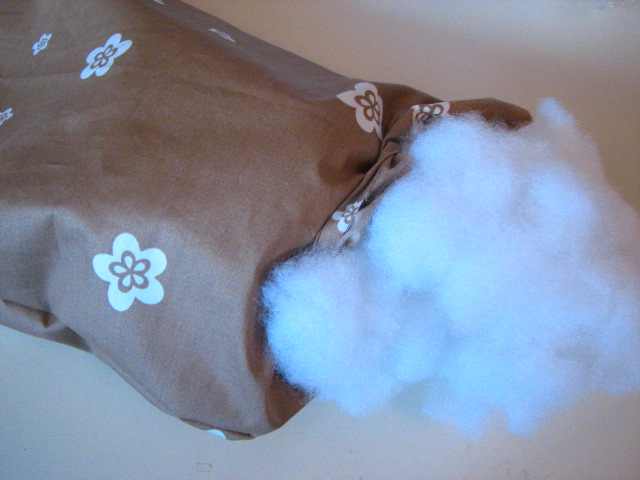
 
Hand stitch the opening after stuffing is done. Set aside.

Cut scrapbook paper to fit the placemat…I chose 2 co-ordinating papers and rounded the corners as the placemat had rounded corners. Once paper is cut, grab your modge podge and a large craft paintbrush, and apply a thin, even coat on the top of the placemat. Carefully place the papers on top and smooth out any wrinkles. I use an old wallpaper seam roller to smooth it all out.
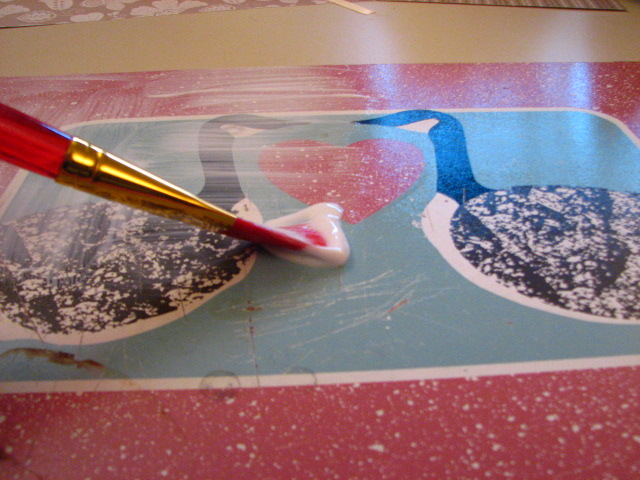
 
I cut a piece of ribbon to go over the seam. Apply a small amount of modge podge over seam and apply ribbon on top…let dry before proceeding to next step. ( I have a fake electric fireplace in my craft room and I just placed the board on the floor in front of the heat and it dries rather quickly)

Sand the edges with an emery board to smooth out edges and give a slightly distressed look to the edge.
 
Once dry, apply a thin, even layer of modge podge on top of the board, right over the papers. I find long, light, even strokes dry the cleanest rather than choppy brush marks, I go from the top to the bottom in one stroke to achieve this look. Also be sure to put a little all around the side edge to be sure the paper won’t lift at the edges.  Let dry completely
 
Once dry, apply a second coat of modge podge and let dry again. When dry, heat up your hot glue gun…when good and hot, apply a good amount of hot glue to the center area of the back of the placemat…you have to work quickly as the hot glue dries fast…center the pillow on the board and press. 
 
Run a bead of hot glue around the edge where the pillow with touch at the edges and once done, press the pillow into the glue, and use some heavy books to completely cover the pillow and leave until all glue is good and dry…and voila…you have a lap desk you can use in the car, out in the yard in the lawn chair, or wherever you need a flat surface on the go. Thanks for looking and happy crafting!!!

Thursday, January 26, 2012

Girly Purse Card


This card was so much fun to make...saw it in an old card making magazine and knew a friend who it was perfect for. It was made in Cricut Craft Room by welding two marquee shapes together from Storybook...it is an actual card that opens at the bottom. I also made two slightly smaller single shapes for the white piece on the outside and one on the inside to write on. The scalloped border was made with an edge punch, and then snipped at every "valley" between the scallops (much like when you are sewing on a curve, it is snipped to the seam so it sits flat) and then you manipulate it so it can follow a curve...hope that makes sense. The ribbon flower was made from a pin on Pinterest...instructions are here if you are interested...very simple to make. (its the red one with white polka dots...you have to scroll down a bit to see it)

Saturday, January 21, 2012

House Warming Card


Made this card for my husbands neice...who just bought her first house. The card base is from Wild Card...the fence is from Picturesque...flowers from a variety of carts including Forever Young, vine is from Home Decor, or maybe Home Accents, mailbox is from Wild Card. I made the envelope just out of a scrap piece of paper and the bird is from Serenade...the white trim under the roofline is a Martha Stewart Punch. It is a whopping 10 1/2" tall, and so I had to make my own envelope...the inside has another fence that is attached at the sides and bottom, so a gift card to a local home decor store can be inserted as a house warming gift.

Wednesday, December 28, 2011

Happy After Christmas...


Whew the holidays are almost over...nice being off work for the week and enjoying all the festivities! Thought I would show off some of the decor from Christmas that I have made, but just didn't post due to a lack of time...hee hee. Found the card tree on Pinterest...love love love that site...and thought it was such a clever idea for displaying Christmas cards...also shown are the treat boxes I made for Christmas day using the Wrap It Up Cricut Cartridge...filled them with either cinnamon roasted almonds or spicy asian almonds...they were a hit for sure!!!

Saturday, November 26, 2011

Front Door Decor


Found this idea on Pinterest...and already had all the components to make it happen...love the way it looks